 Owl
OwlBy OwlWatt · Updated June 2026 · Help & FAQ
Your OwlWatt Iris arrived. This guide walks you through the full setup, unboxing the device, pairing it with your account, and connecting your Enphase Enlighten credentials, from start to finish. Setup takes under ten minutes.
Once setup is complete, OwlWatt starts collecting solar production data from your Enphase Envoy every 5 seconds. That data feeds the performance monitoring, weather-adjusted baselines, and production guarantee tracking that make up your OwlWatt dashboard. You don't need to install anything beyond what's described here, the Iris handles all local communication with your Envoy automatically.
This guide covers Enphase Envoy and IQ Gateway systems only. If you have a different inverter brand, visit the Help center for information about other supported configurations.
What you'll need
- Your OwlWatt login, the email and password you used when you signed up at owlwatt.com.
- Your Enphase Enlighten email and password, the credentials you use at enlighten.enphaseenergy.com. If your installer set up the account, check the welcome email they sent you when your system was activated.
- The OwlWatt Iris, the small device in the box, plus the included USB-C power adapter.
- A way to get the Iris online, either an Ethernet cable plugged into your router (easiest) or your home Wi-Fi network name and password. You only need one of the two.
- A phone or laptop on your home Wi-Fi, you'll use it to open the Iris's setup page in a browser.
- Your solar contract optional, later, handy for your panel count and system size, but not needed to finish setup today.
Step-by-step setup
-
1Sign in to OwlWatt
Go to owlwatt.com and sign in with the email and password you used when you signed up. If you haven't signed up yet, create a free account first.
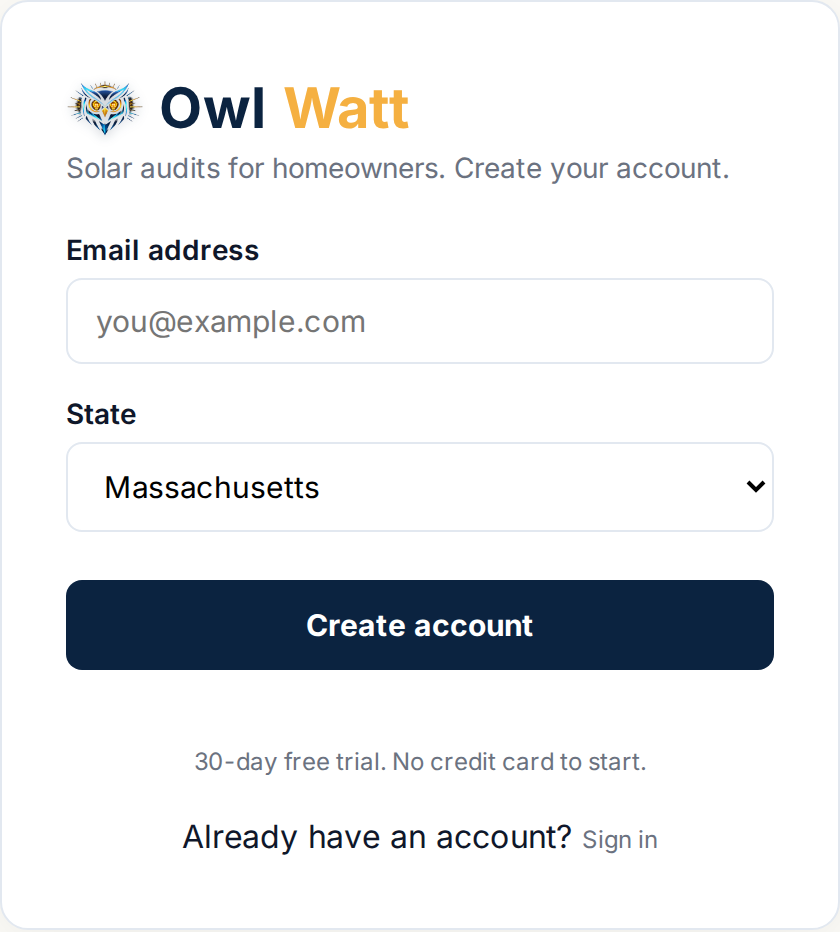 The OwlWatt sign-in screen at owlwatt.com
 -
2Unbox the Iris and get it online
Take the Iris out of the box. Pick whichever option is easier, wired or Wi-Fi. Both get you to the same next step.
Option A: Wired (easiest)
Plug one end of an Ethernet cable into the Iris and the other end into your router or a network switch. Then connect the USB-C power adapter. A green activity light appears within about 10 seconds and the Iris is online, skip straight to Step 3.
Option B: Wi-Fi (no cable needed)
Plug in power only (no Ethernet). After about 30 seconds the Iris creates its own temporary Wi-Fi network named OwlWatt-Setup. On your phone, open Wi-Fi settings and join OwlWatt-Setup, a page titled "OwlWatt WiFi Setup" opens automatically. Choose your home network from the list, enter your Wi-Fi password, and tap Connect. The Iris joins your home Wi-Fi and the OwlWatt-Setup network disappears on its own.
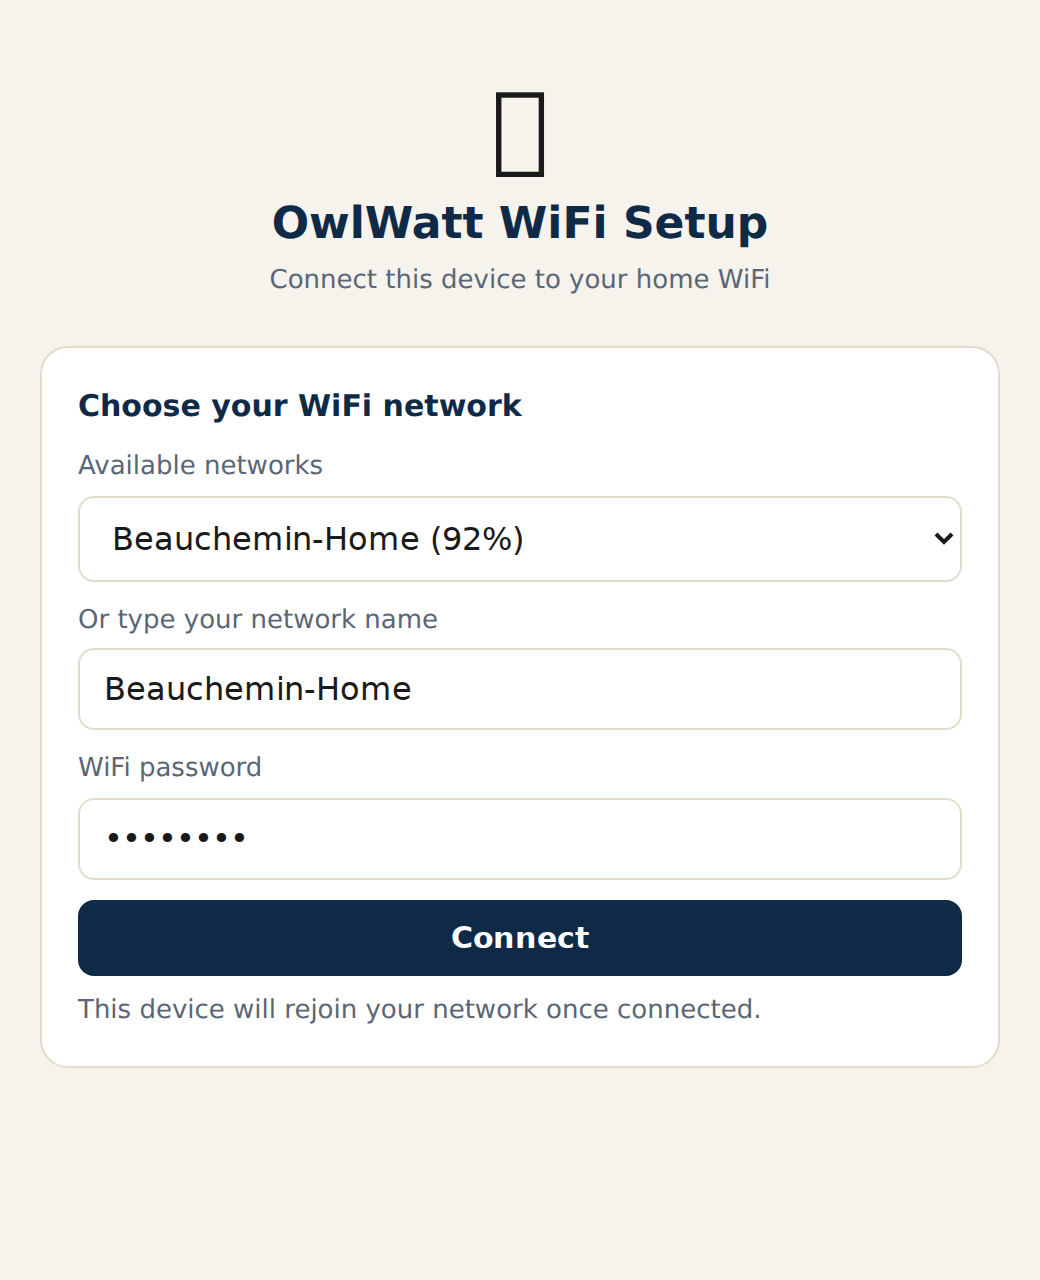 "OwlWatt WiFi Setup", opens automatically when you join the OwlWatt-Setup network on your phoneThe sticker on top of the Iris has the same quick-start instructions. If you misplace this guide, it's right there on the device.
 -
3Open the setup page on your phone
On your home Wi-Fi, open a browser on your phone or laptop and go to:
http://owlwatt.local
You'll see a status page that says "Searching your network for your solar equipment…". The Iris automatically scans for your Enphase Envoy. On most home networks, it finds your Envoy within a few seconds and the banner turns green:
Found: Enphase Envoy (serial 202416009744) at 192.168.1.59
Your serial number and IP address will be different, that's normal. The Iris detected your specific Envoy automatically. -
4Note your pairing code
Once your Envoy is found, the setup page shows a four-character pairing code in a large amber box, something like OWL-7K3M. Write it down or keep the tab open, because you'll need it in the next step.
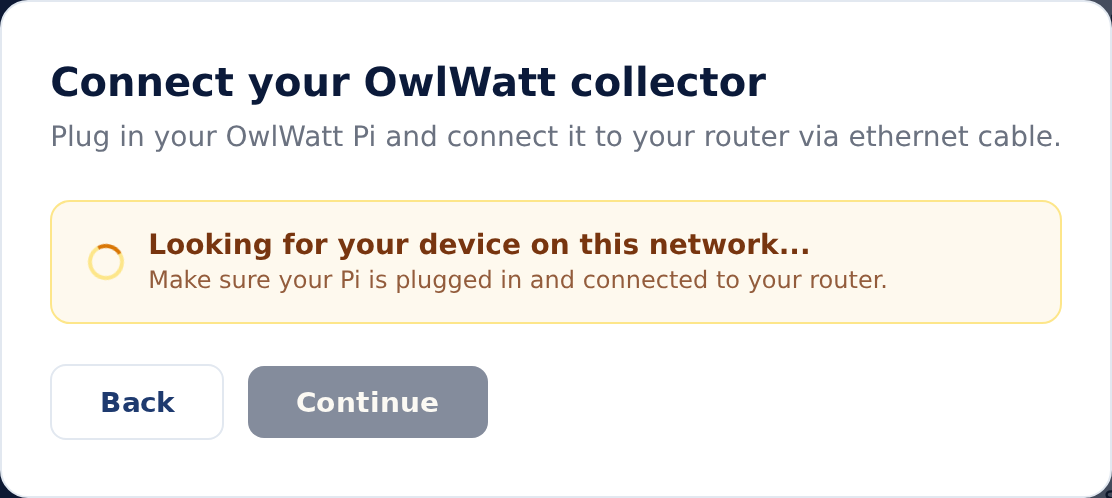 The pairing code appears on the owlwatt.local setup page once your Envoy is found
 -
5Pair at owlwatt.com/pair
Open a new browser tab and go to owlwatt.com/pair. Enter your pairing code (e.g. OWL-7K3M) and your OwlWatt account email, then click Pair.
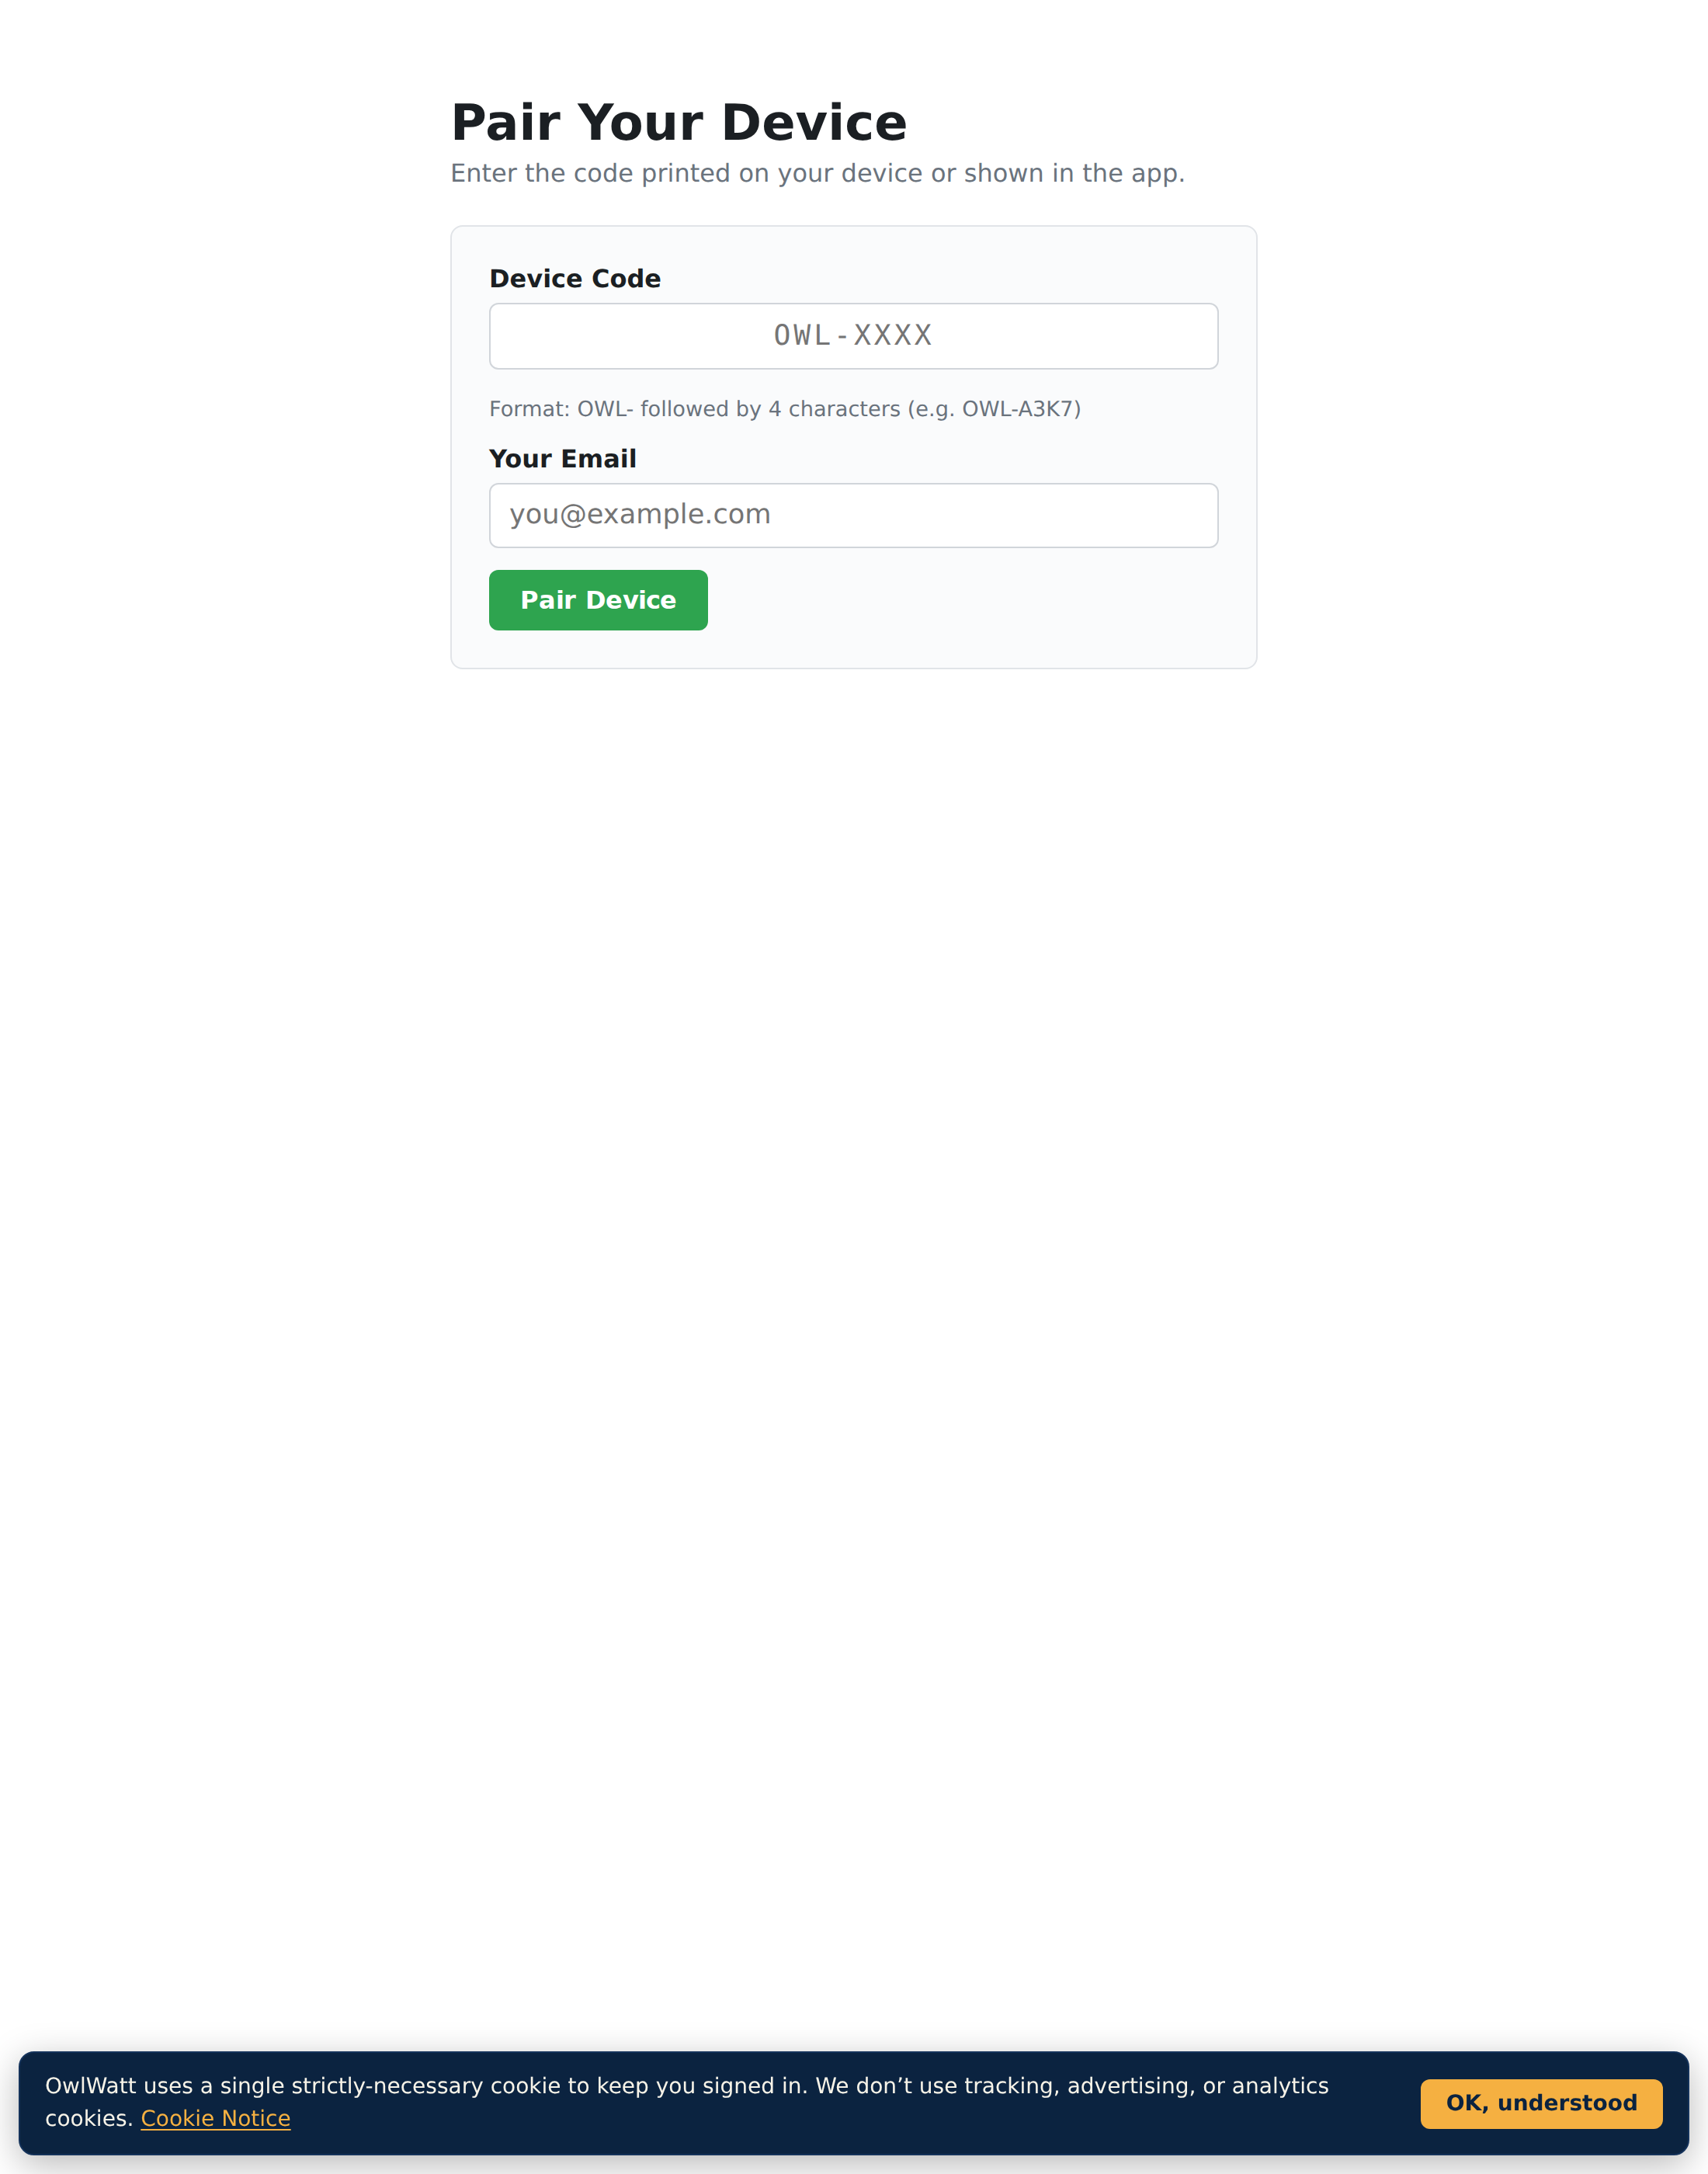 Enter your pairing code and account email at owlwatt.com/pair
Once paired, return to your owlwatt.local tab. Within about 60 seconds the banner will turn navy and say "All set up! You can close this tab."
The pairing step links this physical device to your OwlWatt account. It only needs to be done once. -
6Connect your Enphase account
Back in the OwlWatt dashboard, the onboarding wizard prompts you for your Enphase Enlighten credentials, the email and password you use at enlighten.enphaseenergy.com.
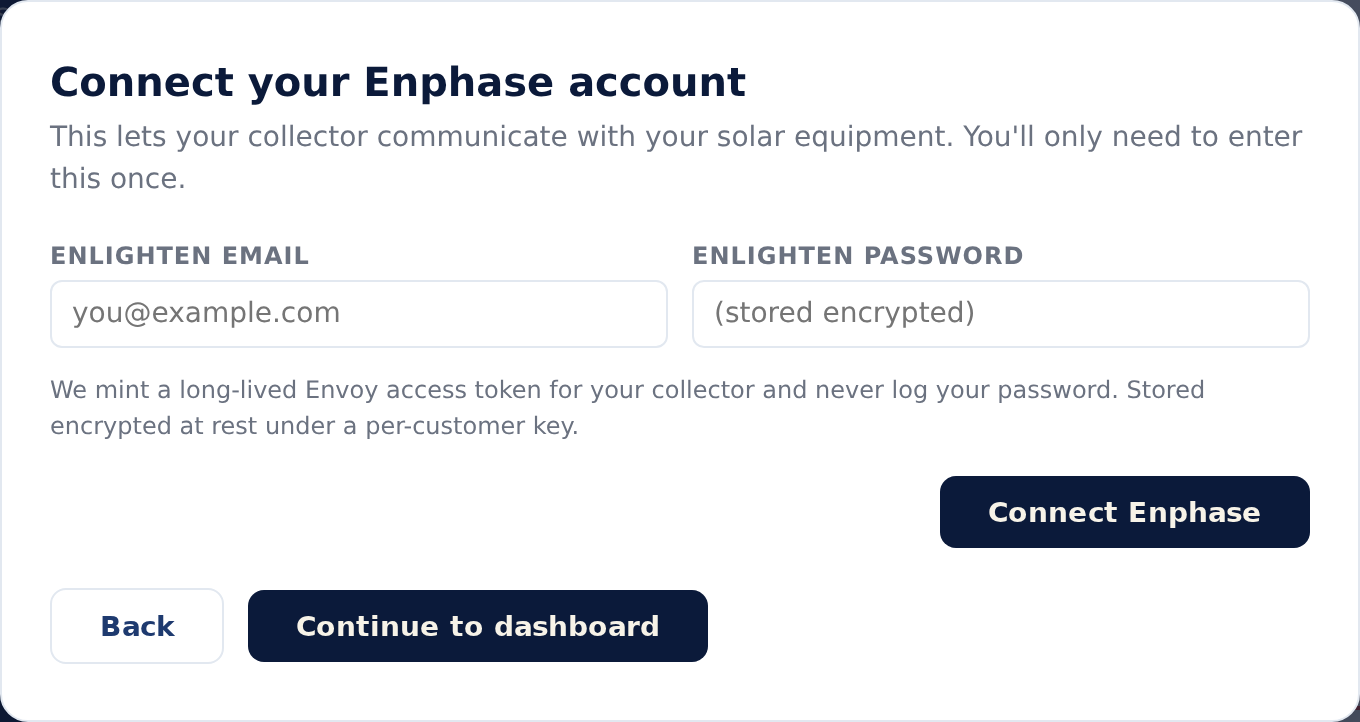 Enter your Enlighten email and password in the OwlWatt dashboard onboarding wizard
These credentials are stored encrypted and are never logged or shared. OwlWatt uses them to mint a long-lived local access token for your collector, you only have to enter them once.
Your Enphase password is entered here, in the OwlWatt dashboard, never on the Iris device itself. The Iris receives your credentials securely from the cloud after pairing. -
7You're all set
Your OwlWatt dashboard will start showing live solar data within 60 to 90 seconds. When you're ready, complete two optional steps that improve the accuracy of your monitoring:
- Upload your most recent electric bill, enables bill verification and billing anomaly alerts.
- Complete your solar system details (Settings → Solar System), add your panel count, system size, and electricity rate for precise performance tracking and guarantee monitoring.
That's it. OwlWatt is now collecting data from your Enphase Envoy every 5 seconds.
Where to find each piece of information
| What you need | Where to find it |
|---|---|
| Getting the Iris online | Plug in an Ethernet cable (easiest), or join the Iris's OwlWatt-Setup Wi-Fi from your phone and enter your home Wi-Fi password on the setup page that opens automatically. Browse to http://192.168.44.1 if the page doesn't open on its own. |
| Pairing code (OWL-XXXX) | Shown on the http://owlwatt.local setup page once your Envoy is found |
| Enlighten email | The email you use to sign in at enlighten.enphaseenergy.com. If your installer created the account, check the welcome email they sent you. |
| Enlighten password | The password for your Enlighten account. If you've forgotten it, reset it on the Enphase site first, then come back. |
| Envoy serial number | Auto-detected, shown on the owlwatt.local page. Also on the label on your Envoy/IQ Gateway hardware. |
| Panel count & system size | In your solar contract or installer's proposal. Also visible in the Enphase app under System → Devices. |
Troubleshooting
Give it a full minute after plugging in power, then pull to refresh your phone's Wi-Fi list. A few things to check:
- The Iris needs power, make sure the green activity light is on.
- No Ethernet plugged in, the OwlWatt-Setup network only broadcasts when there's no wired connection. Unplug any Ethernet cable and wait 30 seconds.
- Refresh your phone's Wi-Fi list, pull down to scan for new networks.
Some phones don't trigger the captive-portal detection automatically. While connected to OwlWatt-Setup, open your browser and go to:
http://192.168.44.1
The "OwlWatt WiFi Setup" page will load and you can enter your home network credentials from there.
A few things to try, in order:
- Make sure your phone is on your home Wi-Fi, not a guest network or mobile data. The Iris is only reachable from your local network.
- Try the serial-number address, look at the label on the back of your Iris for the last four characters of its serial number, then visit
http://owlwatt-XXXX.local(replacing XXXX with those characters). - Find the Iris in your router's device list, log in to your router admin page (often 192.168.1.1 or 192.168.0.1) and look for a device named "OwlWatt" in the connected-devices or DHCP list. Visit its IP address directly in your browser.
Some router configurations (AP isolation, guest mode) block local device discovery. If you're on a guest network or a separate IoT VLAN, move your phone to the main network and try again.
If the setup page shows a red banner after about 30 seconds, your Iris couldn't find your Envoy automatically. This happens on networks with VLANs or mDNS restrictions that block local device discovery.
A manual entry form will appear. To find your Envoy's IP address:
- Open the Enphase app on your phone → Settings → System → Network
- Or check your router's DHCP table for a device named "Envoy" or "IQ Gateway"
Type the IP address into the field and tap Connect. The Iris will confirm it's really your Envoy and continue with setup.
First, verify the credentials at enlighten.enphaseenergy.com by signing in directly. If that fails, use the "Forgot password" link on the Enphase site to reset it.
Once you've confirmed your Enlighten login works, go back to the OwlWatt dashboard, open Settings → Solar System → Connect Enphase, and enter your updated credentials.
After finding your Envoy, the Iris registers with the OwlWatt cloud to generate your pairing code. If this step hangs, the Iris can't reach the OwlWatt cloud. This is a brief internet connectivity issue on the Iris's side.
The Iris will keep retrying automatically. Leave the browser tab open and wait another minute or two, the pairing code will appear as soon as the cloud registration succeeds. No action needed on your end.
Still stuck? Email [email protected] with a description of what you're seeing and we'll get back to you within 72 hours. You can also browse the full Help & FAQ for additional answers about your collector, Enphase connections, notifications, and account settings.
What happens after setup
Once your collector is paired and your Enphase credentials are connected, OwlWatt takes over automatically. The Iris polls your Envoy every 5 seconds, uploads batched readings to the cloud every 60 seconds, and surfaces the results on your dashboard. You'll see live production watts, daily totals, per-panel output across your entire array, and weather-adjusted performance comparisons.
When you're ready, two additional steps improve the depth of your monitoring: uploading a recent electric bill enables bill analysis and billing anomaly alerts, and entering your system details (panel count, system size, installation date) enables production guarantee tracking. Neither step is required to see live data, the dashboard starts working as soon as setup is complete.
Your solar monitoring is now independent
OwlWatt sits alongside your Enphase Enlighten app and adds what it can't show you: weather-adjusted performance verification, production guarantee tracking, and dollar-denominated alerts. Your data starts flowing automatically from here.